
We recently got an invite to a press access showcase where the guys at ArenaNet were giving us a demonstration of what players can expect with the two new bosses released in their latest Guild Wars 2 update "The Origins of Madness". The demo focused on the two bosses that will be available, a rather epic looking giant marionette that is crushing Lornar’s Pass and a top-tier epic jungle wurm that resided beneath Bloodtide Coast.
The marionette whilst on the surface seems like it’s going to be the biggest and most difficult of the two new bosses has in fact been made the most accessible and "easier" (though the term is used loosely). The folks at ArenaNet made a conscious decision to ensure as many people as possible can take advantage of this new release so that they can unlock some big discoveries into Scarlet’s past; the current antagonist in the lands of Tyria. Second to making the lore more accessible the big fight is also being used to showcase some of the mechanics players can expect to be using in higher tier big bad boss fights.
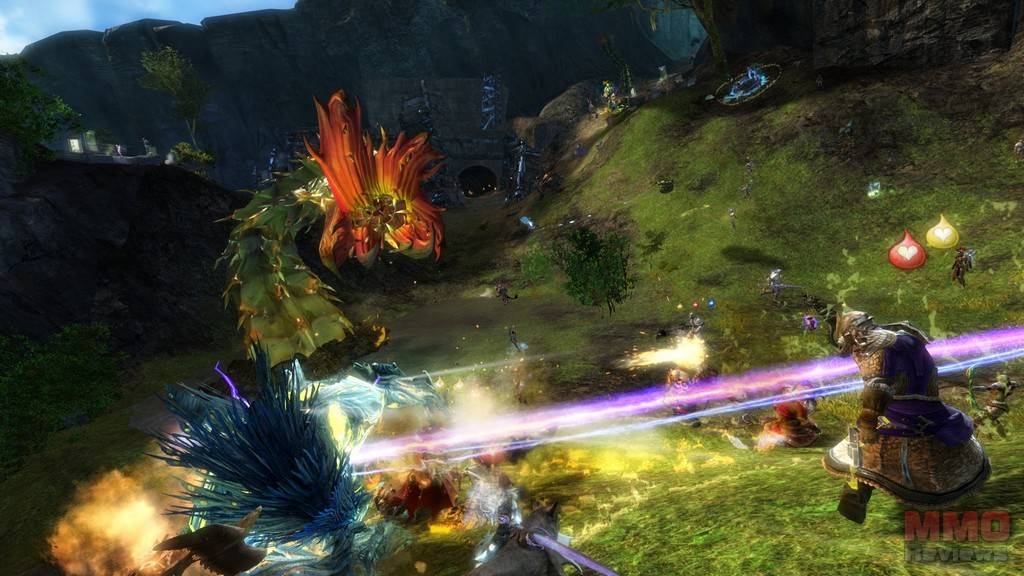
As far as the encounter goes players enter Lornar’s Pass, a snow-capped mountain that is divided into five "lanes" that the players must defend against waves of twisted nightmare creatures trying to access the energy field at the other end of the lane. In between these fields and the waves of creatures are the players, five different groups separate from each other that must defend the energy field; each time the enemies break through the defences the aether cannon that belongs to one of Scarlet’s aether ships begins to charge up; once it fills up to max capacity then everyone in Lornar’s Pass is killed and the encounter is failed.
Within the lanes the groups will face other enemies such as the Toxic Alliance, Molten Alliance and more will also be trying to hinder the players, setting up siege weapons and calling in air strikes from the aether ship. The players have their own tools at hand to aid in their defence such as huge golem suits and the help of the NPCs that have helped them in the story-arc so far.
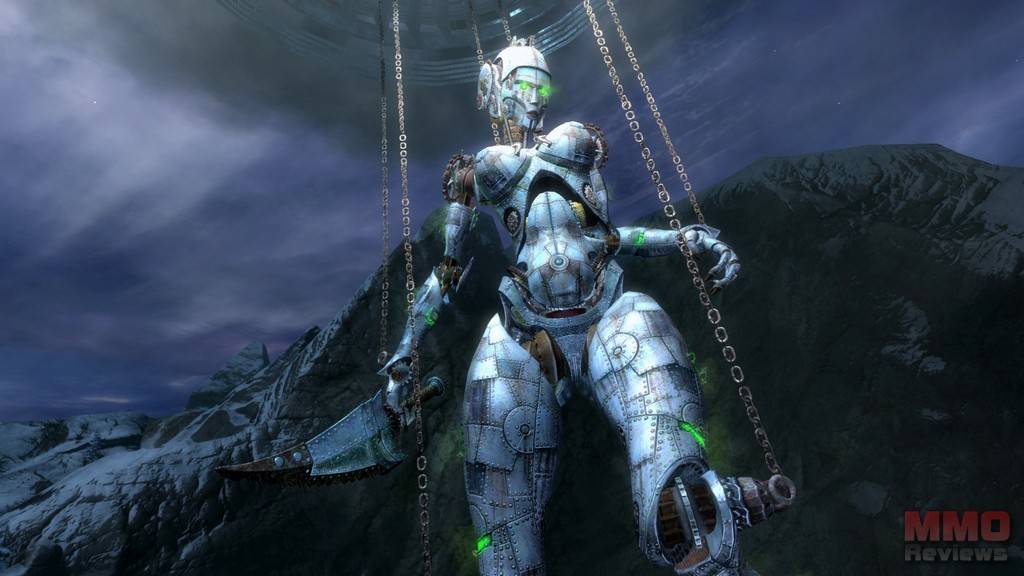
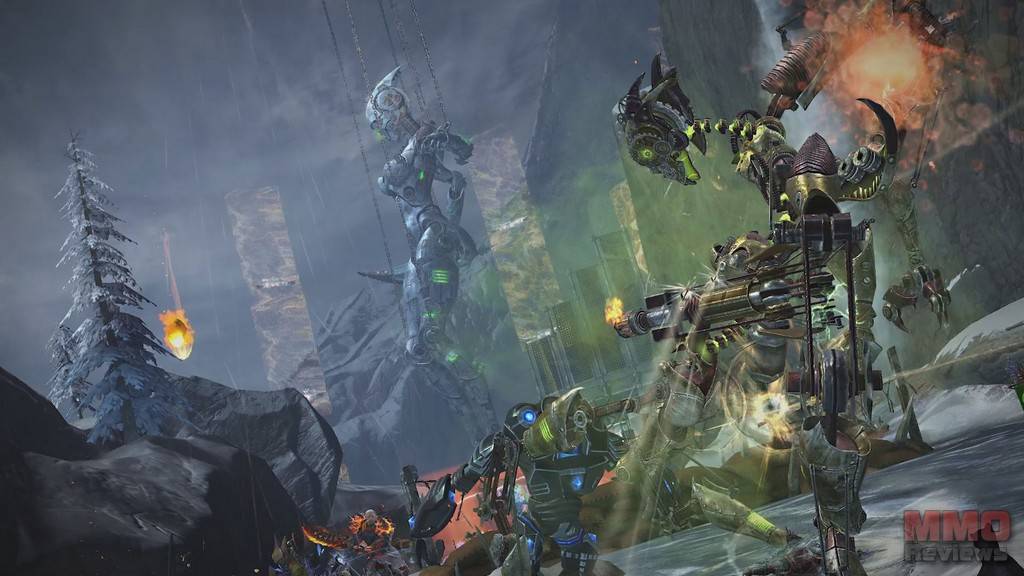
Each lane will also get a chance to access the second stage of the battle, once the NPC golems reconfigure the energy field at the end of the lane this opens up a second instance where players are teleported to a separate area made up of five different platforms; each platform for one of the different lanes. In this area up above one of Scarlets’ huge aether ships has released a huge mechanised marionette, suspended by huge chains from the ship itself, which the players must try to destroy. As the marionette stomps around the area performing attacks the players have two and a half minutes to take down a unique enemy champion that appears on the platform with them; if successful then it will destroy one of the marionettes chains.
When a chain is destroyed the players are transported back into the trenches giving another group the chance to take on stage two, but with each chain that is destroyed the marionette performs a different attack, from trying to crush the groups to doing sweeping kicks, as well as new unique champions spawning. The players will win the encounter by destroying all the chains, but if they fail then they will earn a reward based off how many chains they managed to destroy before failing, the reward improving incrementally with each chain destroyed.
The second boss in Bloodtide Coast is a giant jungle wurm, an encounter meant for top end players where they face off against a giant three headed worm type creature that dwells beneath the surface. Lore wise this encounter ties in with the probes that Scarlet has placed around the world, which have awaken these creatures. For this encounter there is a pre-event to allow the leaders to organize their group and begin preparations, and the mini-escort quests prior to the boss fight.
During these escorts players will face one champion per escort, giving them a chance to get some loot as the main quest is void of minion loot to ensure people focus on the task at hand instead of trying to farm minions. There is also a 4 minute fail timer on the escorts dying, when they are dropped and "dying" the counter will begin to tick down until they are revived, but if they drop again the counter continues where it left off.
The pre-events also give groups an idea of what mechanics are going to be involved for killing the wurms; each wurm head having its own mechanic. As far as the main encounter goes the example we saw was with one of the wurms that is a sucker for gunpowder kegs and the battle showed a fight with the wurm whilst having to defend from a bunch of add mobs as another player runs around gathering the needed powder kegs. There is a counter showing how many kegs are needed before the wurm will attack them and the players must run around the area, using the map, to locate the kegs and bring them back to the fight whilst avoiding any out of control adds that can blow the kegs up in the players’ hands. The kegs themselves are guarded by groups of pirates, or out in the ocean where players must reach them by jumping along debris without falling into the water and ruining the keg.
ArenaNet seem to have learned from the previous boss encounters they have run and with this particular encounter the groups will be fighting all three heads at the same time, requiring a huge level of coordination to defeat the wurm. Players will see huge red reticules on the floor showing where the wurm is about to attack, a feature that is becoming more and more popular in MMORPG raid battles. Also, learning from the previous encounters with Tequatl where people were constantly running the same high power-no precision builds, this encounter is much more diverse and will open up a number of different builds that people will want to try out.


Deja tu comentario
You must be logged in to post a comment.